Getting Started with Stepdance
Overview
This guide walks you through installing the development environment, adding the Stepdance library, and confirming communication with your Stepdance hardware module.
1. Set Up Your Hardware
Build or acquire a Stepdance module (Driver Module or Basic Module). See Hardware Documentation for physical specifications and pinouts.
2. Set Up Arduino Programming Environment
A. Install Arduino + Teensy Support
Stepdance runs on the Teensy 4.1 and 4.0 microcontrollers. Install the Arduino IDE plus Teensy board support (Teensy Board Manager / Teensyduino) following the PJRC tutorial: https://www.pjrc.com/teensy/tutorial.html
B. Install Libraries and Dependencies
Add the Stepdance library to your Arduino IDE or PlatformIO environment. (Currently distributed as a .zip.)
- Download the Stepdance zip file: https://github.com/pixelmaid/stepdance_docs/blob/main/Stepdance.zip
- In Arduino IDE: Sketch > Include Library > Add .ZIP Library and select the downloaded archive.
- Install ArduinoJson: Sketch > Include Library > Manage Libraries, search for "ArduinoJson" (ensure you choose ArduinoJson and NOT Arduino_JSON) and click Install.
Optional: if attempting to extend or modify Stepdance library files, it's possible to create a symbolic link between the repository code and the Arduino library folder using the following command:
cd <Arduino folder on your laptop>/libaries
ln -s <folder where you cloned the stepdance code repo>/lib stepdance

# example:
cd ~/Documents/Arduino/libraries
ln -s /Users/emilie/Documents/Work/stepdance/stepdance/lib stepdance
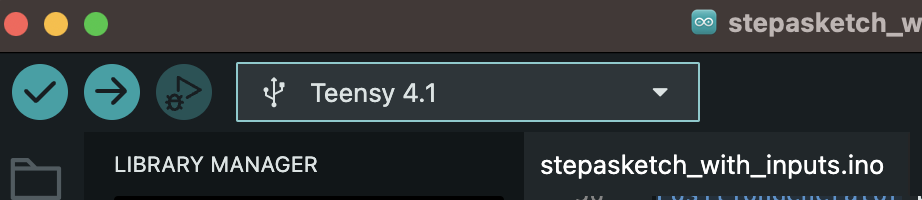
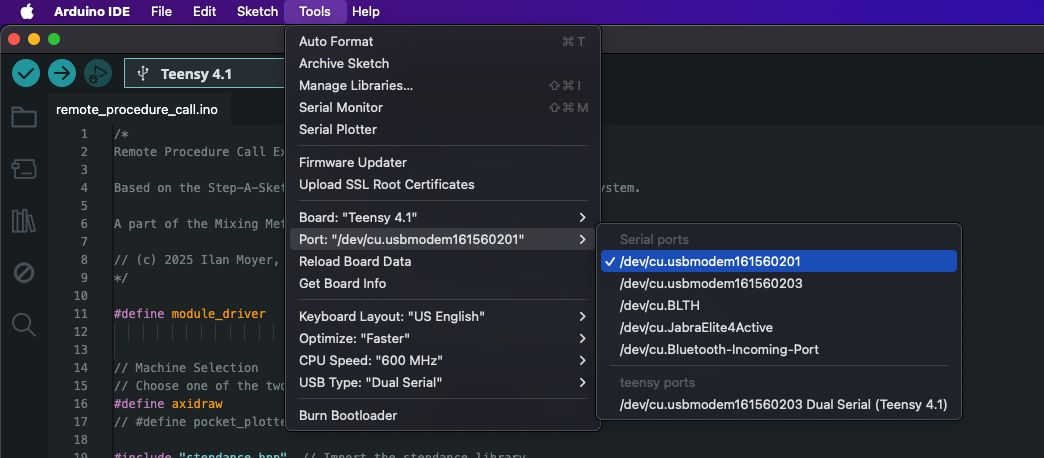
C. Connect and Select the Board
Plug the Stepdance module into your computer via a USB cable connected to the Teensy. Select the Teensy 4.1 (or 4.0) board and correct port from the Arduino IDE toolbar dropdown.
Set USB Type: Tools > USB Type > Dual Serial. If you skip this, you will see the compile-time error:
error: 'SerialUSB1' was not declared in this scope
Open one of the Stepdance examples: File > Examples > Stepdance. At the top of the sketch ensure the correct module macro is defined:
#define module_driver   // for Machine Controller module
// OR
#define module_basic    // for Basic Module
Upload using the arrow icon.
D. Test Serial Monitor
Open the Serial Monitor (magnifying glass icon). If you do not see output from Serial.println(), switch ports under Tools > Port. On macOS you may see devices like /dev/cu.usbmodem...; on Windows, use the appropriate COM port.
3. Next Steps
- Explore Software Library Documentation
- Try filtering or mapping inputs to motion channels.
- Experiment with generators (e.g., WaveGenerator1D, PositionGenerator).
Return to the main documentation: Getting Started | Hardware | SSL